
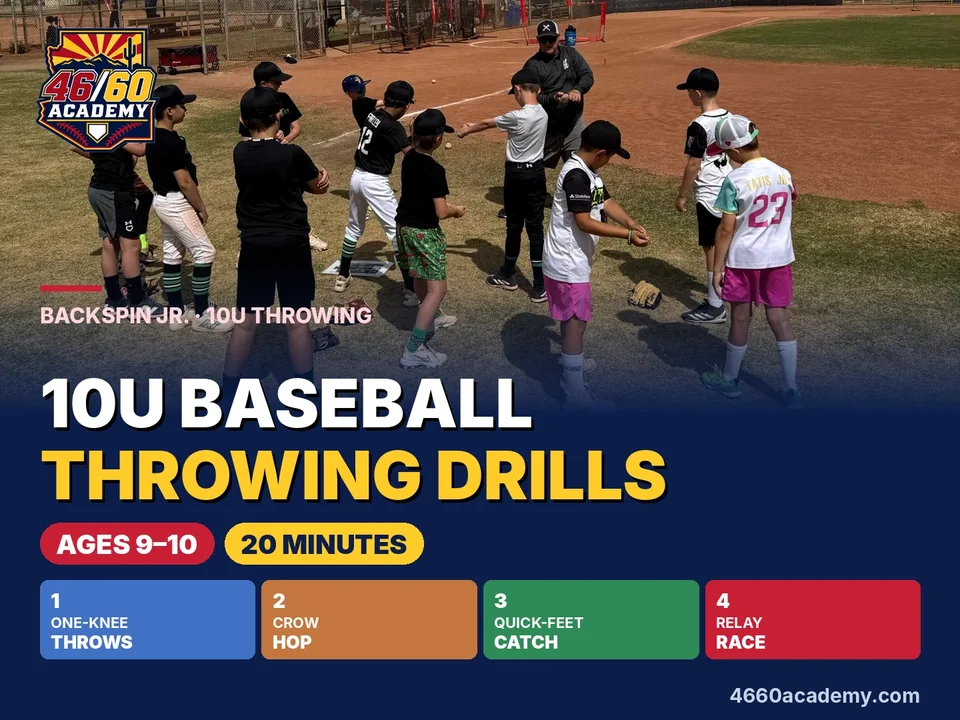
At 10U, the field gets bigger and the throws get longer. Shortstop to first, outfield to a cutoff, catcher to second. The kids who look good at 9 and 10 are not the ones with the hardest arms; they're the ones whose feet get them lined up before the ball ever leaves the hand.
The best 10U baseball throwing drills build footwork and accuracy at longer distances: a progressive warm-up, crow hop throws, quick-feet catch, target throws and a relay race. Warm up first, only move back when throws stay on a line, and stop the day if the arm hurts.
Train it: Confident Thrower (Level 2 Throwing) → Free: Free Throwing Intro Course →What changes in throwing at 10U?
Most 9- and 10-year-olds already know the basics: grip across the seams, turn sideways, point and step. What changes is distance. The throws are longer, so the legs have to do more of the work.
- Footwork: learning to move the feet toward the target before throwing, like a crow hop.
- Accuracy at distance: a throw that arrives chest-high on a line, not a high rainbow.
- Quick hands: catch, find the grip and throw without a big pause.
- Knowing where to throw: cutoffs and relays start to matter.
These drills are written for baseball. Softball families can use our softball throwing drills for kids, built around the bigger ball.
How should a 10U player warm up before throwing?
Sports doctors at the American Orthopaedic Society for Sports Medicine recommend warming up before throwing and building up slowly. Start with a light jog, skips and arm circles, then play easy catch close together and back up a few steps at a time.
MLB and USA Baseball's Pitch Smart guidelines for ages 9 to 12 also recommend taking at least four months off from throwing every year, playing other sports and watching for signs of fatigue. We think that advice is smart for every young thrower, not just pitchers. Throws getting weaker or wilder mean the arm is tired, so end the day. Pain means stop right away and tell a parent or coach.
Five throwing drills for 10U baseball
- Wrist flips and one-knee throws: start close. Ten easy wrist flips with the elbow held up, then ten one-knee throws with the glove-side knee up and pointed at the partner. This wakes up the arm and keeps the throw on line.
- Crow hop throws: from a longer distance, the player catches, skips the throwing-side foot forward so it lands sideways, then steps toward the target with the front foot and throws. The hop gains ground toward the target. Walk through it slowly before adding speed. Ten throws.
- Quick-feet catch: partners close together. Catch with two hands, find the grip, shuffle the feet toward the target and throw. Count how many clean throws you get in 30 seconds.
- Chest-shot targets: partner holds the glove at the chest. A throw that hits the glove without the partner moving is 2 points, a catchable throw is 1 point, anything else is 0. Back up one step only after three 2-pointers in a row.
- Line, not a rainbow: at the longest distance you use, the throw should arrive on a line or with one hop to the partner. If it has to be lobbed high to get there, move in.
Coach BK likes to say "See that wall… knock it down!" For a 10-year-old throwing, it means big, controlled effort toward the target. A strong throw that hits the chest beats a wild one every time.
You don't need all five every day. Pick two or three, keep each one short, and stop while the throws still look good. Ending on a clean, on-target throw is a better habit than grinding out tired ones.
A relay race that makes throwing practice fun
Split the team into two lines of four or five players, spaced out across the outfield grass. The first player throws to the next, who catches, turns to the glove side and throws to the next, all the way down the line and back. First team to finish without a dropped ball wins.
This teaches the turn and throw of a real relay, and kids will beg to play it again. Keep the spacing short enough that every throw can arrive on a line. If balls keep sailing, move the players closer.
Once the race is easy, make it more like a game: put a target player on a base at the end of the line and see which team can get the ball there chest-high first.
A 20-minute throwing plan for 9- and 10-year-olds
| Minutes | Drill | Look for |
|---|---|---|
| 0–5 | Jog, skips, arm circles, easy close catch | Loose, no hard throws yet |
| 5–8 | Wrist flips and one-knee throws | Elbow up, ball on line |
| 8–12 | Quick-feet catch | Feet move before the throw |
| 12–16 | Crow hop throws | Hop toward the target |
| 16–20 | Chest-shot targets or relay race | Chest-high, on a line |
Two or three of these sessions a week is plenty, with rest days in between and throwing at practice counted too. If your child also pitches, follow your league's pitch-count and rest rules and count those days as throwing days.
One thing to remember
At 10U, longer throws come from the feet and a good line, not from throwing harder.
What to do this week
Do the 20-minute plan twice this week with a full warm-up each time. Keep score in chest-shot targets and only back up when the throws stay on a line.
Parent questions
How far should a 10-year-old be able to throw?
There's no number every 10-year-old should hit. Focus on throws that arrive on a line and chest-high at the distances your child plays in games, like shortstop to first, and back up only as accuracy holds.
Is a crow hop OK for 9- and 10-year-olds?
Yes. A crow hop uses the legs to gain ground toward the target, which takes stress off the arm on longer throws. Teach it slowly first and keep it on easy throws until the footwork is smooth.
How often should my 10U player practice throwing?
Two or three short sessions a week on top of team practice is plenty, with rest days in between. Pitch Smart recommends at least four months off from throwing each year and playing other sports.
SEE CONFIDENT THROWER (LEVEL 2 THROWING) →
Sources: AOSSM: Baseball Injuries (warm-up, fatigue and never throw with pain) · MLB & USA Baseball Pitch Smart: Pitching Guidelines, Ages 9–12